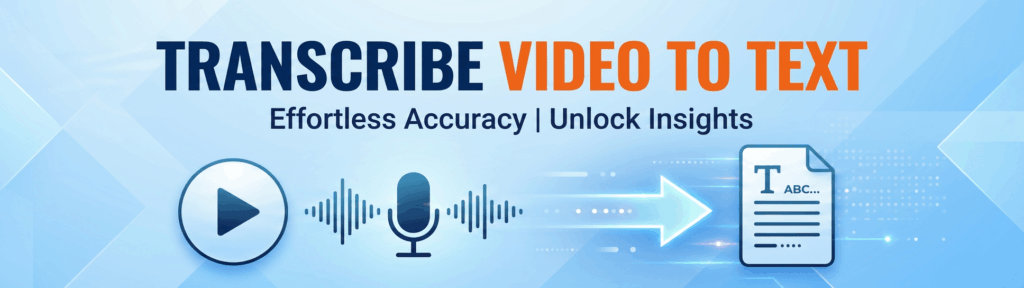
Meeting recordings, interviews, classes, voice memos, podcasts… These things accumulate very quickly, especially when you still need to find quotations, take notes, add subtitles or leave a clear transcript. If you want to transcribe audio to text, which method to use depends on your file format, the length of the recording, and how much effort you are willing to spend on editing later. The following five methods are more practical: Clipto Online for AI transcription, Google Docs Voice Typing for quick free dictation, Microsoft Word Transcribe for Office users, YouTube Auto Captions for video or podcast content, and Clipto for Mac for desktop. You will see what scenarios each method is suitable for, where it is not easy to use, and how to change it a few times to get a cleaner transcript.

What to Consider Before Choosing a Method to Transcribe Audio
Before you pick a tool, check these points first so you do not waste time on a method that cannot handle your audio file, editing needs, or export format.
- File upload: Pick a tool that can upload audio files directly if you already have recordings saved as MP3, M4A, WAV, or MP4. Microphone-based tools can work for quick notes, but they feel clumsy with long meetings or interviews.
- AI transcription: Tools with transcribe audio to text AI features usually handle longer files, multiple accents, and full conversations better than basic voice typing. You still need to review the final text, but AI can cut down a lot of manual work.
- Speaker labels: Speaker labels matter for interviews, meetings, podcasts, and webinars. Without them, the transcript can turn into one long block of text that takes extra time to clean up.
- Editing and export options: A useful tool should let you edit the transcript and export it in the format you need. TXT works for notes, while SRT or VTT works better for captions and subtitles.
- Price and limits: Free tools may work for basic needs, but they usually come with limits on uploads, formatting, speaker labels, or export formats. A free trial is often a better choice when you need a cleaner transcript for work, study, or client use.
Method 1: Transcribe Audio to Text Online with Clipto
Clipto gives you a simple online way to turn anything with spoken audio into clean, usable text. Just upload your recording, and Clipto helps create a transcript that is much easier to edit, quote, organize, subtitle, or repurpose later. For anyone looking to transcribe audio to text free online, Clipto is a practical choice. Instead of working from messy auto-generated text, you can get a clearer transcript that is ready for the next step.
Step 1: Upload a Local Audio File or Paste an Online Link
Upload the audio files that are already on your device, or paste an online link directly into Clipto. It’s good to use meeting recordings, interviews, course audio, podcast clips, seminar files and casual voice notes.

Step 2: Generate Audio Transcripts
Check the transcript and fix anything that needs attention, such as names, numbers, product terms, unclear wording, or missed punctuation. Turn on speaker labels when several people talk, and use timestamps when you need to jump back to a specific moment in the recording.
Open Translate if you need the transcript in another language. Clipto can instantly translate the transcript, making it easier to understand, share and reuse content across different languages.

Step 3: Download Audio Transcripts
Export the transcript in the format that fits your next step, such as DOCX for editing, TXT for plain notes, SRT or VTT for subtitles, or XML and FCPXML for video editing workflows.

Optional Step: Get Insights from Audio Transcript with AI
Click AI Summary to generate a concise overview of the transcript. It highlights key topics, takeaways, speaker insights and action items, helping you understand the content quickly before reviewing the full transcript.

Use AI Chat to pull key quotes, find important moments, or ask questions about the recording without scrolling through the whole transcript.

Method 2: Transcribe Audio to Text Using Google Docs Voice Typing
Google Docs Voice Typing works for quick dictation, short notes, and live speech. It costs nothing, opens inside Google Docs, and does not require extra software. Google Docs can help when you only need to transcribe audio to text free in a basic way, but it works best with clear, short speech.
This method has real limits. Google Docs does not let you upload an audio file and turn it into a structured transcript. If you play a recording near your microphone, the result depends on your speaker volume, microphone quality, room noise, and audio clarity. It also does not handle speaker labels, summaries, timestamps, or export formats for captions. For a long meeting, interview, or podcast, you will spend more time cleaning the text.
Step 1: Open Google Docs and turn on Voice Typing
Open a new Google Docs document, click Tools, then select Voice typing.

Step 2: Speak clearly or play your audio near the microphone
Click the microphone icon and speak at a steady pace. For saved audio, play the recording close to your microphone and keep the room quiet.
Step 3: Edit the text manually
Check the text for wrong words, missing punctuation, messy paragraph breaks, and unclear sentences. Add speaker names yourself if more than one person talks.
Method 3: Transcribe Audio to Text with Microsoft Word Transcribe
If you originally use Microsoft 365 to write things and organize work content, the transcription function of Word is quite suitable. Especially when it should be written as a meeting minutes, interview summary, class notes or work report after recording. It allows you to transcribe audio to text directly in Word, and then you can smooth and adjust the structure of the text without changing the place to continue editing. It can also help when you need a cleaner draft for transcribing meeting minutes.
Step 1: Open Word and choose Transcribe
Open a Word document, go to Home, click the Dictate dropdown, and choose Transcribe.
Step 2: Upload or record your audio
Upload an existing audio file, or record directly in Word if you want to capture a live conversation. Word supports common file types like MP3, M4A, WAV, and MP4.
Step 3: Insert and edit the transcript in Word
After Word creates the transcript, add the full text or selected sections to your document. Then clean up names, speaker labels, punctuation, and formatting before turning it into interview notes, class notes, or meeting minutes.
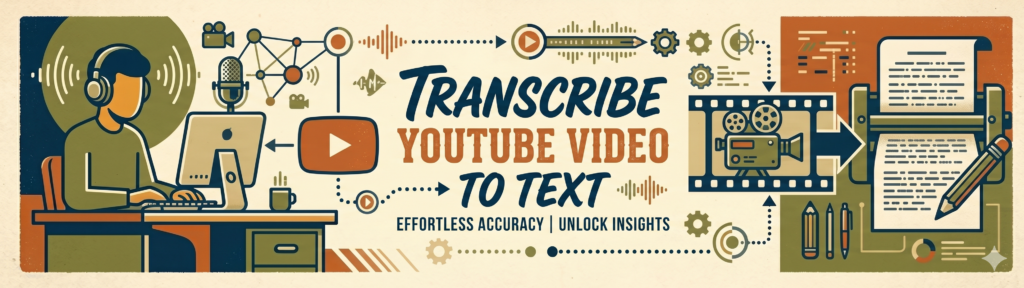
Method 4: Transcribe Audio to Text by YouTube Auto Captions
YouTube Auto Captions is suitable for content that is already in the form of a video. For example, you can use YouTube videos, webinars, podcast clips, course videos, or some simple creator content. YouTube can automatically generate subtitles, and you can use this subtitle as rough video text.
But this method is not suitable for all audio files. If you have a private meeting, customer interview or unpublished recording, uploading to YouTube may have some privacy concerns. In addition, you need to check the subtitle content carefully. Background noise, accent, multiple people talking at the same time, brand name, technical terms, these are easy to make subtitles go wrong.
Step 1: Upload your video to YouTube
Upload your video through YouTube Studio. If you only have an audio file, turn it into a simple video first, such as a static image with the audio track. Keep private or sensitive content off this workflow unless you feel comfortable with the privacy settings.
Step 2: Wait for auto captions and open the transcript
Give YouTube time to process the video and generate automatic captions. Then open the captions or transcript and review the text. For a fuller walkthrough, check how to get the transcript of a YouTube video.
Step 3: Copy the text and sort it out
Copy the transcript and change the words, names, punctuation, paragraph segmentation, and who said what and so on. YouTube Auto Captions can save some time, but it is almost impossible to use them directly, and basically they have to be changed again.

Method 5: Transcribe Audio to Text Privately on Your Device with Clipto
Clipto for Mac is ideal for sensitive or confidential recordings that require extra privacy. Unlike browser-based tools, it lets you transcribe audio from local files while keeping everything on your Mac, reducing the need to upload content to external services.
It’s a great option for interviews, meetings, research recordings, course audio, and other private media. With transcripts, summaries, and recordings organized in one place, Clipto combines AI-powered transcription with a privacy-focused local workflow.
Step 1: Upload your audio file to Clipto’s local transcription tool
Open the Clipto Mac app and add local audio or video files. You can directly drag the file into the app, paste the link in the import box, or start real-time recording directly if your environment is suitable. This method is more friendly to private files, because you can operate on your Mac all the time without switching back and forth between various web tools.

Step 2: Let Clipto audio transcription tool process audio files
Wait for Clipto to process the recording. Once the file appears in your library with a clear status, open it and move into review.

Step 3: Review and shape the audio transcript
Smooth the transcript and open the Timestamp when you need to jump to a specific time point. If there are several people talking in the recording, use the Speaker labels. If you need other languages, click Translate. If you want to quickly understand the content overview, you can use the AI summary. Or use the AI chat box to extract to-do items, key quotes and important fragments, so that you don’t have to read the full text word by word.

Step 4: Export the audio transcript
Export the transcript in the format that matches your next step. Choose DOCX or TXT for notes and cleanup, SRT or VTT for subtitles, or Premiere XML and Final Cut Pro FCPXML for post-production work.

Which Method Should You Choose?
Clipto Online
Best for: Fast AI transcription
Works directly in your browser with no downloads or plugins required. You can transcribe recordings, local audio and video files or online content such as YouTube videos and web links. It also offers audio recording, transcript translation, AI summaries, and AI Chat.
Clipto for Mac
Best for: Private recordings
Transcribes local audio files while keeping sensitive content on your Mac, making it ideal for confidential recordings.
Google Docs Voice Typing
Best for: Quick voice notes
Free and easy to use, but transcripts often require manual editing and formatting.
Microsoft Word Transcribe
Best for: Microsoft 365 users
Generates transcripts directly in Word, making editing and document management convenient.
YouTube Auto Captions
Best for: YouTube Videos and podcasts
Creates automatic captions quickly, though accuracy may vary depending on the audio quality.
For occasional transcription, free tools may be enough. For better accuracy, AI features, and privacy, Clipto Online and Clipto for Mac provide a more complete solution.
Tips to Get a More Accurate Audio Transcript
Even the best transcription tool works better when the recording gives it something clean to work with.
- Start with clear audio: Clear sound gives any transcription tool a better base to work from. Low volume, echo, wind, background music, and heavy room noise can all lead to missing words or messy lines.
- Reduce overlapping speakers: Try to keep people from talking over each other, especially in meetings, interviews, and podcasts. When speakers take turns, the transcript reads cleaner and speaker labels become easier to check.
- Split long recordings when needed: Long recordings can become harder to review in one pass. Break a long meeting, lecture, or interview into shorter sections so you can check the transcript faster and keep the context clear.
- Check names, brands, and technical terms: AI transcription tools can misspell people’s names, company names, product names, acronyms, and industry terms. Always review these details before you use the transcript in notes, subtitles, articles, or client-facing work.
- Check the punctuation, paragraphs and speaker labels: A transcript can capture the words but still need structure. Change the punctuation, break down the large paragraphs of the text into easy-to-read paragraphs, and take a look at whether the speaker’s label is matched before converting it into meeting minutes, subtitles, interview notes or drafts.
Conclusion
Every recording needs a different workflow. Google Docs handles quick notes, Microsoft Word keeps Office users inside their document flow, YouTube Auto Captions helps with video and podcast content, and Clipto for Mac gives Mac users a stronger option for private local files. For a faster online way to transcribe audio, Clipto Online gives the most complete path without adding extra tools to the process. It works well when the transcript needs editing, exporting, captions, summaries, or content reuse after the text appears. Start with Start Free Trial to test Clipto with your own files for 7 days, and cancel anytime before the trial ends.
FAQ
1. Can I transcribe audio to text free online?
Yes. You can transcribe audio to text free online with a few different methods, depending on what kind of file you have. Clipto Online gives you a 7-day free trial for a fuller transcription workflow, including upload, editing, and export. Google Docs Voice Typing works for short live speech or simple notes. YouTube Auto Captions can help if your content already exists as a video. For longer recordings, interviews, or meetings, a dedicated transcription tool usually saves more cleanup time.
2. What is the best way to transcribe audio to text free AI?
Clipto Online works best if you want to transcribe audio to text free AI and still keep the workflow simple. You can upload a recording, generate a transcript, review the text, use extra tools like summary or AI Chat, and export the final file. That makes it more useful than basic dictation tools when you need a transcript for meetings, interviews, podcasts, subtitles, or content reuse. The 7-day free trial also lets you test it with your own files first.
3. Can Google Docs transcribe an uploaded audio file?
You can’t do it directly. Google Docs Voice Typing is more like real-time dictation, which is not a complete audio transcription tool. You can create a new document, turn on Voice Typing, and speak into the microphone. You can also play the recording next to the microphone, but the effect depends on your speaker volume, room noise and microphone quality. If you already have an audio file at hand and want a cleaner draft, Clipto Online or Microsoft Word Transcribe will be smoother to use.
4. Is Clipto for Mac the same as Clipto online?
No. Clipto Online works better when you want a quick browser-based way to transcribe audio without installing a desktop app. Clipto for Mac fits users who handle local audio, video, interviews, lectures, or private media files on a Mac. It gives you a desktop workflow and keeps your files closer to your local library. Many users can use both: Clipto Online for fast web transcription and Clipto for Mac for heavier local media work.